Showing posts with label Tomato. Show all posts

Tuesday, January 18, 2011

A new recipe we both loved!

I've seen a recipe circulating on Allrecipes.com for the last week and I decided I had to try it!! Rice Balls ala Tim. This recipe looked easy and was made with ingredients I regularly have on hand.


This recipe has a lot of elements, but nothing crazy!

Begin by browning your ground beef- the recipe calls for 1/2 lb...I used about 3/4 lb. Add garlic to meat before it finishes browning.

In a large bowl, combine 2 cups of cooked white rice, 1/2 cup each parmesan and mozzarella cheese, the ground beef, 1/2 cup of tomato sauce, salt, pepper and some Italian Seasoning. The recipe does not call for Italian Seasoning- but I thought it was a little bland, so I added about 1 1/2 tsp.

Stir to combine and let it cool slightly- the cheese should start to melt a bit.

I used a cookie scoop to help me form these into balls. The mixture is soft but will solidify a bit in the fridge- I was able to get 12- 2 inch balls. Place on a lined baking sheet and refrigerate at least 20 minutes.

Beat two eggs in a bowl and put your bread crumbs in another bowl. Coat each rice ball in the egg then the bread crumbs and place on a foil or parchement lined baking sheet.

I used Panko Bread crumbs for this, because that's what I had on hand. Put the rice balls into a 350 degree oven for about 25 minutes. I sprayed mine lightly with olive oil spray to help them brown.

Beautifully golden after 25 minutes!

Serve topped with more of your favorite tomato sauce. These were absolutely delicious and will most definitely make it into the regular rotation...kind of a cross between lasagna and the filling of a stuffed pepper. The recipe makes a lot and they are very filling!

Sunday, January 2, 2011

Grown-Up Grilled Cheese.... the combination I love!

One of my favorite casual dinner options is the Panini! It's so easy to change up and seems a little "fancier" than grilled cheese :) The easiest way to make it a little fancier, is to make a fresh sauce or flavored mayo- my favorite is a Chipotle Mayo.


For this mayo, I add about 1 cup of light mayo in my mini chopster. I use canned Chipotles in Adobo...add in 1 whole chipotle and 2 cloves of garlic. 


Puree until smooth and refrigerate at least 2 hours for best flavor.

For my panini, I spread a little of the mayo on both slices of bread. Top with some thin sliced mozzarella cheese, a few fresh basil leaves and tomato slices. I also used some thinly sliced chicken from the deli.

Heat your panini press if you have one- I just use my grill pan or a regular skillet. Brush the outside of the bread with a little olive oil.

I use a piece of foil and a heavy pan on top of my sandwiches to press them. Flip once.

Serve hot! The possibilities are endless. I love fresh mozzarella and tomatoes with balsamic vinegar in the summer...and peanut butter with nutella or chocolate chips makes for a fun dessert.


Thursday, October 14, 2010

Who knew I would love Chili as a "grown-up"?

Growing up, I hated chili. No beans please!! Well, now that I am "grown up", I LOVE chili! Or, I love my chili :) I actually love most chili now, as long it doesn't involve kidney or lima beans!


For my chili you will need: 2 cans of Chili Beans, 1 can of diced tomatoes with green chilies, 1 can tomato paste, 1 onion, LOTS of garlic, 1 1/2 lbs of ground beef, 1 large can of tomato juice and to season (garlic salt, black pepper, Italian Seasoning, Chili powder and Cumin).

I start by browning my ground beef. As soon as it is mostly cooked, add one diced onion and several cloves of minced or grated garlic. Cook 2 minutes over medium heat.

I added a few over-ripe tomatoes from my garlic last time I made this. Add one can of tomato paste and cook one minute.

Stir in beans, tomato juice and canned tomatoes. I just keep seasoning to taste, but always start with 3 tsp of cumin, 5 tsp of dark chili powder, 2 tsp of black pepper, 1 tsp of Italian seasoning and 2 tsp of garlic salt. Sorry- no idea how much I add after that, just depends on my taste that day :) Cook for as long as possible on low heat...a minimum of 2 hours. I usually aim for 5-6 hours. Stir frequently!

Top with shredded cheddar and enjoy! It's even better the next day :)

Sunday, September 19, 2010

I love a good bowl of tomato soup :)

The tomatoes keep coming this year...so I decided to try the recipe for Hearty Hot or Cold Roasted Tomato Soup. Pretty tasty! I have a few portions for the freezer. 

You start by roasting your tomatoes and garlic...


Place on a lined baking sheet and roast at 375 degrees for 1 hour. Drizzle with olive oil, salt and pepper before roasting.


I peeled my garlic and put in a foil pouch to roast it- the cloves were small and I knew they would burn cooking for an hour. I also added a little olive oil and salt to the foil packet.


My stock was frozen- so I put it in the soup pot over low heat while the tomatoes were roasting. I only ended up using 2 cups of chicken stock because I like a thicker soup.


Beautiful roasted tomatoes! I could eat them just like this.


The finishing elements...balsamic vinegar, basil and my handy dandy immersion blender.


Dump it all in the pot and puree!


The immersion blender made this nice and smooth- I didn't need to remove seeds or skins from my tomatoes.

Portioned for the freezer...it was a busy freezer day!


In addition to the soup, I added more applesauce and pesto to the freezer!


Saturday, September 18, 2010

Love at first bite

It's been a busy week with more baking than cooking. My first real bread sales this week (14 loaves) plus preparing for a garage sale left without a lot of cooking time. I did, however, find the time to use up some of the gorgeous tomatoes and zucchini from my garden!! This was one of the best new recipes I have tried!

For the Zucchini and Tomato Gratin, you will need:

    * 2 tablespoons olive oil
    * 4 zucchini, sliced
    * 1 large clove garlic, crushed
    * 4 ounces thinly sliced mozzarella cheese
    * 4 large tomatoes, peeled and sliced
    * 1/4 cup grated Parmesan cheese
    * 1 tablespoon chopped fresh basil
    * salt and freshly ground black pepper


I made a half portion of this recipe- but could have eaten lots more!!
I sliced my zucchini into rounds and browned on both sides. I didn't use much oil and I added my garlic after I flipped the zucchini so it wouldn't burn. I cooked mine for about 6 minutes, total.


I sliced two yellow tomatoes from my garden.


And then layered the zucchini, tomatoes and mozzarella into an 8x8 baking dish.


Top with fresh grated parmesan cheese, fresh basil, salt and pepper.


Bake at 375 degrees for about 30 minutes. NOTE- It is very important to turn your oven on in order for this to cook. It took me 30 minutes to realize I hadn't!


I ate the whole pan for dinner- and then realized the full recipe was only 2 servings, so I didn't feel so bad :) 

The author of this recipe does recommend using salt to draw some moisture from the zucchini before cooking. I didn't do that, but will next time as I did have a lot of water in the bottom of my baking dish. Delicious- just the same :)

Sunday, September 12, 2010

I love how easy this is to make...and eat :)

If you haven't done it yet...make Pioneer Woman's Restaurant Style Salsa! This tastes just like the salsa at my favorite Mexican Restaurants, and it only takes 5 minutes to make. Did I mention it makes a TON?!

For this recipe, you will need:

1 can (28 Ounce) Whole Tomatoes With Juice- I use 2-15 0z cans
2 cans (10 Ounce) Rotel (diced Tomatoes And Green Chilies) Mild, Original or Hot...depending on how spicy you like it
¼ cups Chopped Onion ( My hubby loves onion, so I use a whole small onion)
1 clove Garlic, Minced (I love garlic- I use two!)
1 whole Jalapeno, Quartered And Sliced Thin
¼ teaspoons Sugar¼ teaspoons Salt
¼ teaspoons Ground Cumin
½ cups Cilantro (more To Taste!) We basically use the whole bunch!
½ whole Lime Juice


Ok- so after making this recipe a few times...I got brave and added a second jalapeno this time! I also had super small cloves of garlic...so I threw in 5 :)
Put everything but the cilantro into the bowl of the food processor and pulse a couple of times.


Add in as much Cilantro as you like...I told you we use the whole bunch! Pulse until combined. It's done!


This makes about 6 cups of Salsa...which is great news, because we can't stop eating it.


Awesome with tortilla chips, in your favorite tacos, stirred into soup...the possibilities are endless. I love a fresh from the garden salsa too- but for cost and effort, this is delicious, cheap and simple!

Thursday, September 2, 2010

I love the flavor of fresh herbs and homegrown goodies!

With an overflowing garden this year, I decided to try and preserve some of the wonderful garden flavors. I did this by making homemade tomato sauce with my tomatoes and green peppers, as well as some of my fresh garden herbs! I didn't follow a recipe for this...just tasted as I went :)


I started with 7 tomatoes from my garden...red, yellow and orange!


I made a cross on the bottom of each tomato and dropped them into a pot of boiling water to remove the peels. Boil about 1 minute.


Remove from the boiling water and put into an ice bath. Once cooled, remove the skin, stem and seeds. No need to chop, just squeeze out the seeds.


Peel two carrots and dice. Peel and cut one large onion, a few cloves of garlic (I  love garlic so I used about 7!), and one bell pepper. Cut everything into about 1 inch chunks.


Throw into a large pot with 2 TBS of olive oil and cook over medium low for about 1 hour. I also added a handful of grape tomatoes that were needing to be used up. I didn't peel them, just threw them in whole.


After one hour, use an immersion blender or regular blender to puree to desired consistency. I made mine very smooth.


Simmer for another hour and season with black pepper, red pepper flakes, oregano and basil. I used fresh oregano, basil and thyme in mine. Check for seasoning before removing from the heat.


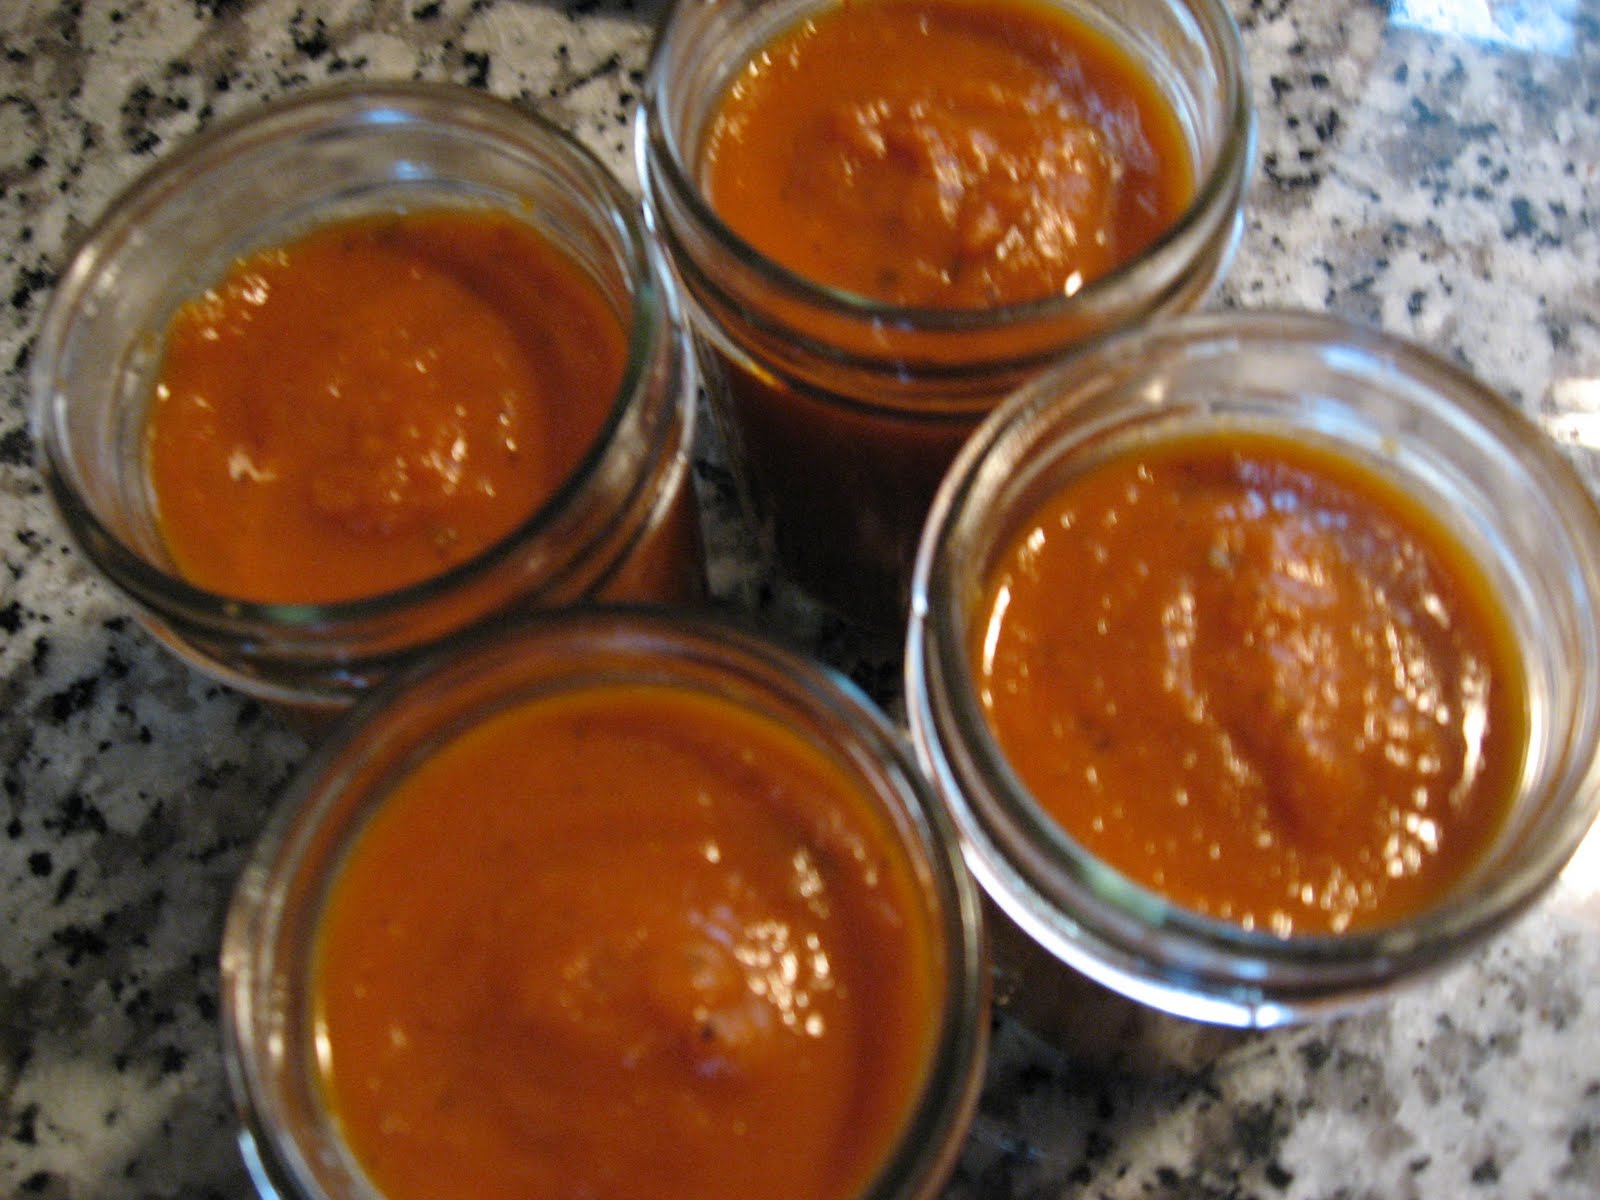
This made 4 jars of sauce, which are now happy residents of my freezer for a taste of summer this winter :)