Showing posts with label Pork. Show all posts

Wednesday, January 26, 2011

I'm from Iowa, that means I have to love Pork!

Many people grow up thinking Pork Chops are such a yummy treat, not me. I was never someone that got excited about Pork Chops, I still don't. However, I have been a pork addict when it comes in the form of shredded meat :) I'm truly hooked on the Simple Carnitas recipe I have made so many times, and more recently, Kalua Pig in a Slow Cooker recipe from Allrecipes.com. I have always HATED anything made with liquid smoke, but I had access to some Red Hawaiian Sea Salt, so I decided to go for it!


The beauty of this recipe is the prep! Only 3 ingredients and no work :) The only catch, you MUST start it the day before you wish to eat it!

Trim your Pork roast to remove some of the excess fat. Put your boneless or bone in Pork Shoulder (aka Pork Butt), in the crock pot. Using 1 1/2 TBS of the salt and 1 TBS of the liquid smoke, rub both sides of a 6 lb roast. That's it!! Turn it to low, cover and let sit for 16-20 hours. I assure you, you want to let it cook the whole time!!!!

After 20 hours...this is my pork. It is literally falling apart and develops almost a bark on the exposed edges, just like it would if you smoked it. Shred the meat removing any fat.

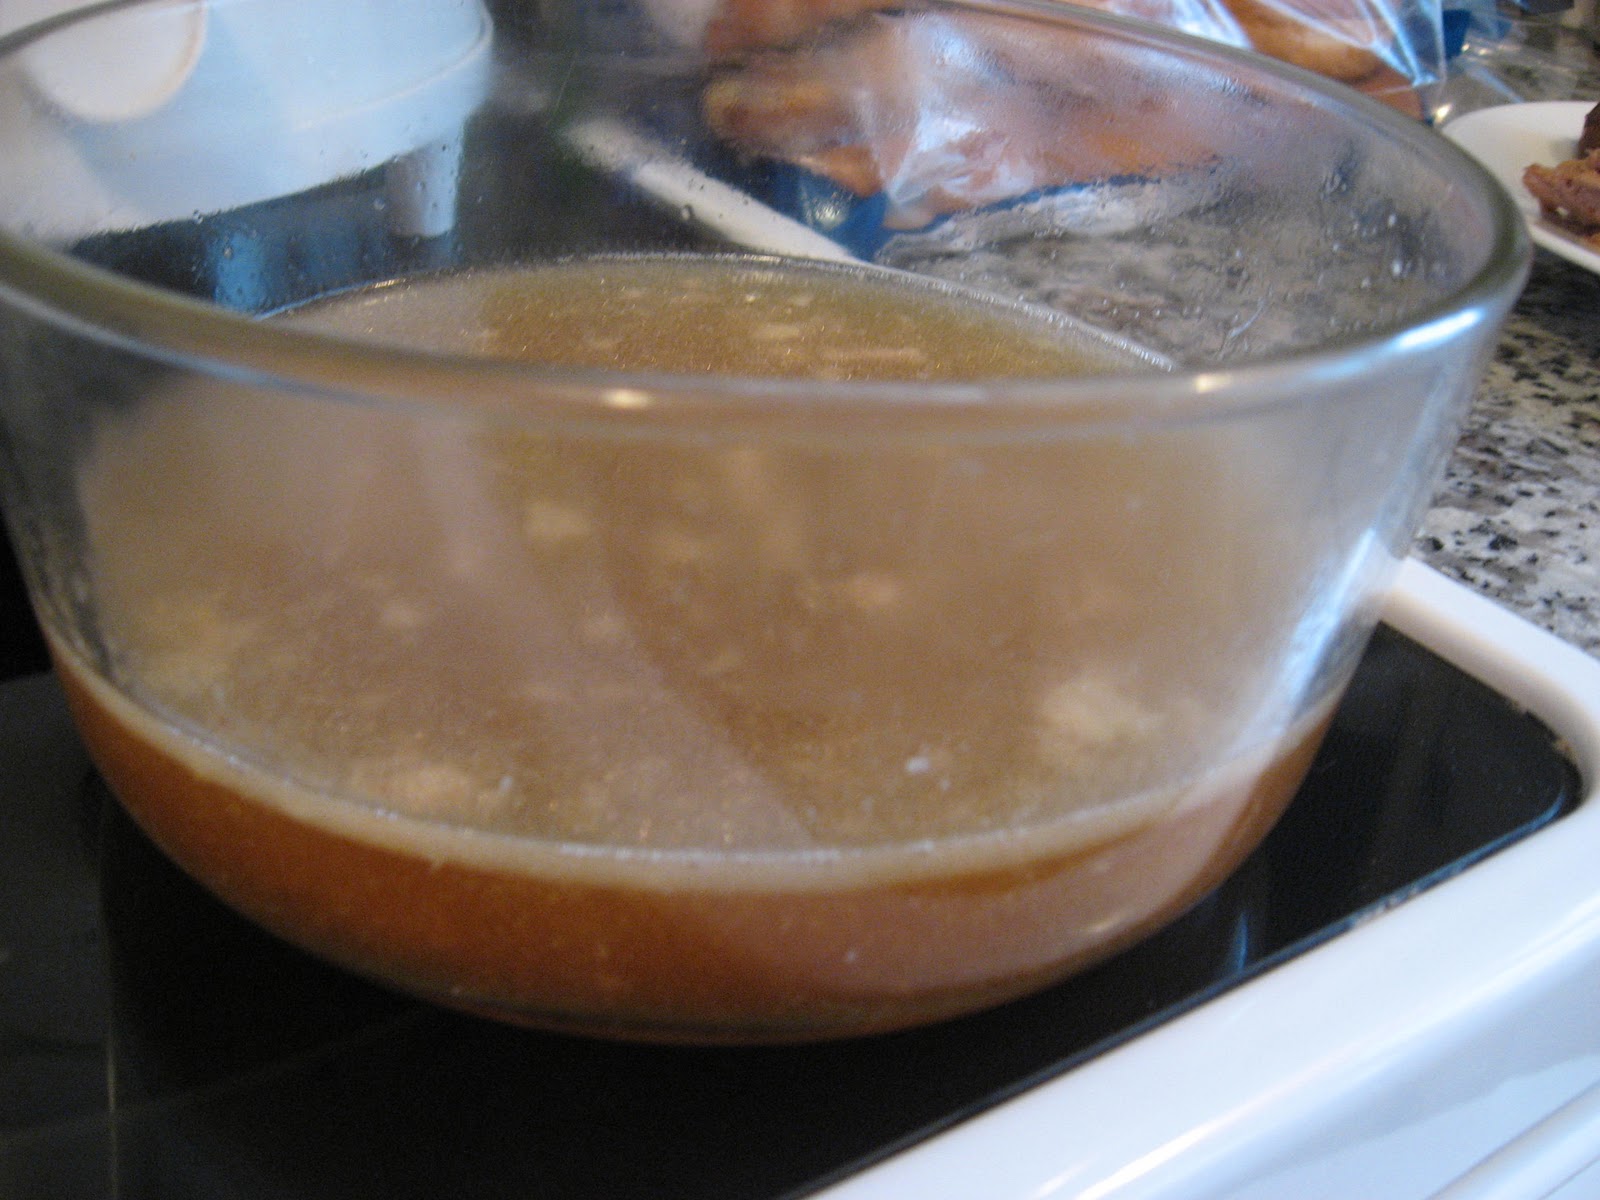
This is the broth that I poured out of my crock pot...almost 3 cups! Remember, I didn't add any liquids other than the liquid smoke! This does make a nice sauce if you wish to serve your pork over rice. Just refrigerate to allow the fat to solidify so you can remove it, then reheat and serve.  We love this over white rice.

It is also fantastic on a soft bun. Seriously, I have trouble stopping myself when I make this! If you're like me and think you don't like liquid smoke, this recipe could change your mind. AMAZING!!!

Tuesday, April 13, 2010

An Asian-inspired creation we Love!

My husband loves my pot stickers. I developed my "recipe" years ago, before there were many great options found on-line. I am sure there is a better recipe out there now, but I still like mine :) It may not be "authentic" but I think they taste amazing.

Start by browning 1/2 lb of ground pork (Italian sausage if you like a little more heat).


While the pork is browning, chop 1/4 c mushrooms (about 6 large button mushrooms) into a small dice. Also dice 1/4 c green bell pepper (about 1/2 a pepper) and 3 green onions.

***I think this is a great recipe to make in the same week I make homemade pizzas, because I never use a whole container of mushrooms or my whole pepper!***


Add to this mix, 1/2 cup bagged coleslaw, or fresh chopped cabbage. Dress this with...here comes the strange part... 1/2 TBS ketchup, 1/2 TBS yellow mustard, 1/2 TBS Worcestershire Sauce, 2 TBS soy sauce and 1/4 tsp of sesame oil. Mix together and add the cooled sausage. I also grate in (using my micro plane) 1 TBS of fresh ginger and 2 cloves of garlic.

I refrigerate this overnight so the cabbage wilts a bit and all the flavors combine.


Then it's time to start stuffing your pot sticker wrappers (wonton wrappers work too). Wet the edges of each wrapper and place a small amount of filling in the center. Pinch the edges to seal...you can crimp if you want, or just seal them flat.


After I fill all my wrappers (my recipe fills 30), I cover them with a damp paper towel and heat my skillet.


Add a small amount of vegetable oil to a large skillet with a tight fitting lid. When pan is hot (about medium heat), place in pot stickers and cook about 5 minutes, until the bottoms are brown. Add about 1/4 cup of water to the pan and put on the lid. Let them steam for about 7 minutes, or until the water is gone and the tops seal tight on the filling. Remove cooked pot stickers and repeat with remaining.


I make a quick dipping sauce with 1/2 cup soy sauce, 1/4 tsp of sesame oil, 1/4 cup rice wine vinegar and 1/2 TBS fresh grated ginger.

Serve and enjoy...chopsticks optional!


Even Robyn loved them!

Saturday, April 10, 2010

I really just Love Mexican Food :)

A few weeks ago, I went to my favorite Mexican Restaurant, La Camelia, with my mom. I have tried ALMOST everything on their menu, but my mom managed to order something new! She ordered Chilaquiles. I snagged a bite and it was delicious! So, I set out in my quest to try and copy her lunch.
This week I went shopping at Sam's Club and encountered a wonderful deal on Queso Fresco, but vowed only to buy it if I could find lots of new ways to use it. I present to you, my "Fake-Out" Chilaquiles!!
Now, If you have made Ken's Simple Carnitas before, you know the meat is addicting! I have made the recipe about 5 times now and almost always have a container of shredded pork in my freezer. So, this is another way for all you other SimpleCarnitas addicts to use up some of your pork! And for all you talented and authentic Mexican cooks, I am not claiming this to be authentic, but it does taste pretty darn close :)

First, gather your ingredients.
You will need:
Fresh or store bought tortilla chips
Fresh or store bought Salsa Verde or Green Enchilada sauce
Shredded pork, chicken, or beef
Queso Fresco

Add about 1 cup of green enchilada sauce to a skillet- this is for one serving. Over medium heat, warm the enchilada sauce and about 1/2 cup of shredded meat. 

Once the sauce is warm, add a large handful of tortilla chips. You want to cook the chips in the sauce until they are soft and have absorbed most of the liquid.

Transfer to a bowl and top with crumbles of Queso Fresco. Simple and delicious!! No one will ever suspect you used leftovers and made such an easy meal!

Now- I understand that Chilaquiles are commonly a breakfast item in Mexico, but for me, a wonderfully fast dinner. Enjoy!

Monday, March 8, 2010

It's fun feeding my husband the food he loves!

Sometimes the simple things can be the most delicious! My husband says that my Stuffed Green Peppers are at the top of the list of his favorite things I make...I love it when little work leads to great reward! The main dish of this recipe requires 6 ingredients, and the side dish requires about 3. The prep time is approx 10 minutes, which means a great meal with little time spent in the kitchen. As much as I love to cook, sometimes you need an easy go-to option.
This serves 2 adults.

For the peppers you will need:

2 Large Green Peppers
1/2 lb Hot Italian Sausage
A small can of Tomato Sauce (I like the basil and garlic flavor)
1 cup of cooked Rice (I use Wild Rice)
1/2 cup of Mozzarella Cheese
1/4 cup of Fresh Grated Parmesan


For the side you need 1 cup of baby carrots, 1 cup of radishes (quartered), a drizzle of olive oil and whatever spices you like to season with (I like lemon pepper and garlic salt). Throw the clean veggies on a baking sheet. Drizzle with oil and season. Set aside. Pre-heat your oven to 400 degrees.


I like to stuff my peppers whole and I want them to stand up pretty, so I cut the knobs off the bottom to make a flat surface. Should look like this:


Next I brown 1/2 lb of Hot Italian Sausage. Once it is cooked through, I add in my cooked rice, 3/4's of the can of tomato sauce and the grated Parmesan. Heat until the whole mixture is warm. It should look like this:


Next- stuff the peppers with the hot mixture until it comes just over the top of the pepper.


Top your peppers with the shredded mozzarella (Fresh mozzarella slices are even better, but I went with what I had on hand). Put the peppers on the top oven rack and the radish/carrot combo on the bottom rack. Cook for 15-20 minutes until the cheese on the peppers has started to brown, and the veggies are tender.


***Side note...if you have never had roasted radishes, you MUST try them. I don't care for them raw, but I love them roasted with carrots. They compliment each other well!***

Serve up your pepper with a generous side of roasted veggies!


The inside is cheesy and delicious. This meal is eaten quickly at my house...with a few happy sighs from my hubby :) Enjoy!