Monday, December 6, 2010

I love a dippable dinner!

Fondue is so fun! While visiting my parents last week, we were looking to have something "different" for dinner...and I decided to make Fondue! The best part of preparing Fondue is coming up with all the fun items for dipping :)


I used this recipe for Cheese Fondue, and it was so perfect!! You will need white wine, salt, nutmeg, flour, Swiss and Gruyere.

Heat the wine and slowly add the cheese, then the flour. Season with salt and pepper. Serve hot!

We used asparagus, french bread, little smokies, green apples, carrots, tomatoes and green peppers for dippers :) Delicious!!! This is such a fun meal- and very fast to prepare!

Lovin on Shrimp!

I found a killer deal on raw, frozen shrimp at Target a few weeks back. I needed a fast dinner one night, so I pulled out a bag and thawed them in cold water. I didn't have a recipe in mind, and I didn't have a lot of time...so I winged it!


The key players- Olive Oil, Cajun Seasoning, Garlic Salt and a fresh Lemon.

I combined about 2 TBS each of olive oil and lemon juice in a bowl. Add 1 tsp of Cajun seasoning (or more to taste) and 1/2 tsp of Garlic salt. Toss raw shrimp in this marinade.

I grilled my shrimp on my stove-top grill pan until cooked through...about 5 minutes.

Served with garlic cheese bread, roasted asparagus, and lemon wedges. It was divine and so simple!!

Monday, November 22, 2010

Love crock-pot cooking :)

We eat French Dip Sandwiches A LOT in the Fall and Winter. I usually just buy sliced roast beef at the deli counter and heat it in beef broth that I've seasoned up. Yesterday, I decided I wanted French Dip for dinner... but I wanted a "fancier" version, so I threw a chuck roast in the crock pot with all sorts of goodies!


I used a 3 lb Chuck Roast with 1 can of low sodium beef broth, several cloves of garlic (maybe 6?), a couple of bay leaves, peppercorns, dried oregano and rosemary.

After throwing everything into the crock pot- I decided to add a few pepperonici as well. Cook on low for about 8 hours.

I hollowed out a few slices for French Bread- we like extra room for the meat :) Toast in the oven for a few minutes.

After all the meat was shredded, I put it back in the crock pot to heat through in the broth.

We like a couple of slices of melted cheese on ours- I used Provolone.

Serve with a bowl of the broth for dipping. I also served mine with roasted Broccolette and a few chips. Perfectly delicious- and pretty simple too :)

Friday, November 19, 2010

Champagne and Shrimp...instant love!

I was home visiting my parents last week, and my mom made Champagne Shrimp for dinner. I had heard her talk about it several times before, but had never made it myself. One bite and I knew...I was in love. The sauce is rich, almost like a bisque- and it's actually really easy to make!


The recipe calls for mushrooms, but my mom doesn't "do" mushrooms, so I left them out just like she did. I also used Whole Wheat Thin Spaghetti, but think I like it best with Penne.

Since I didn't use the mushrooms, I started by heating the shrimp in the Champagne (use a dry Champagne...not a sweet one) along with 1/4 tsp of Kosher Salt.

While waiting for the Champagne to come to a boil, chop your shallots and tomatoes. I used 1 whole shallot and 2 good sized Roma Tomatoes.

Once liquid is boiling, remove the shrimp and set aside. Add the shallots and tomatoes and cook until liquid is reduced by half...about 8 minutes.

As liquid is reducing-  season with salt, pepper and parsley. I had to use dried because that is all I had on hand. When my large spice jars get low- I always transfer the little bits left into baby food jars. They take up a lot less space!!


Stir in the heavy cream and continue boiling until the sauce starts to thicken. This only took a couple of minutes. I chose to add my pasta to the sauce to soak it up, instead of pouring it over the top. Add the shrimp in at this time as well to heat through.

Top with a sprinkle of fresh grated Parmesan Cheese and enjoy the indulgence. Restaurant quality at home = perfect!

Thursday, November 18, 2010

A labor of love.

I saw these posted several times last year, and instead of looking for a tutorial, I decided to wing it. BAD IDEA! These were a lot of work, but in the end, totally worth it! I present to you...Oreo Turkeys.


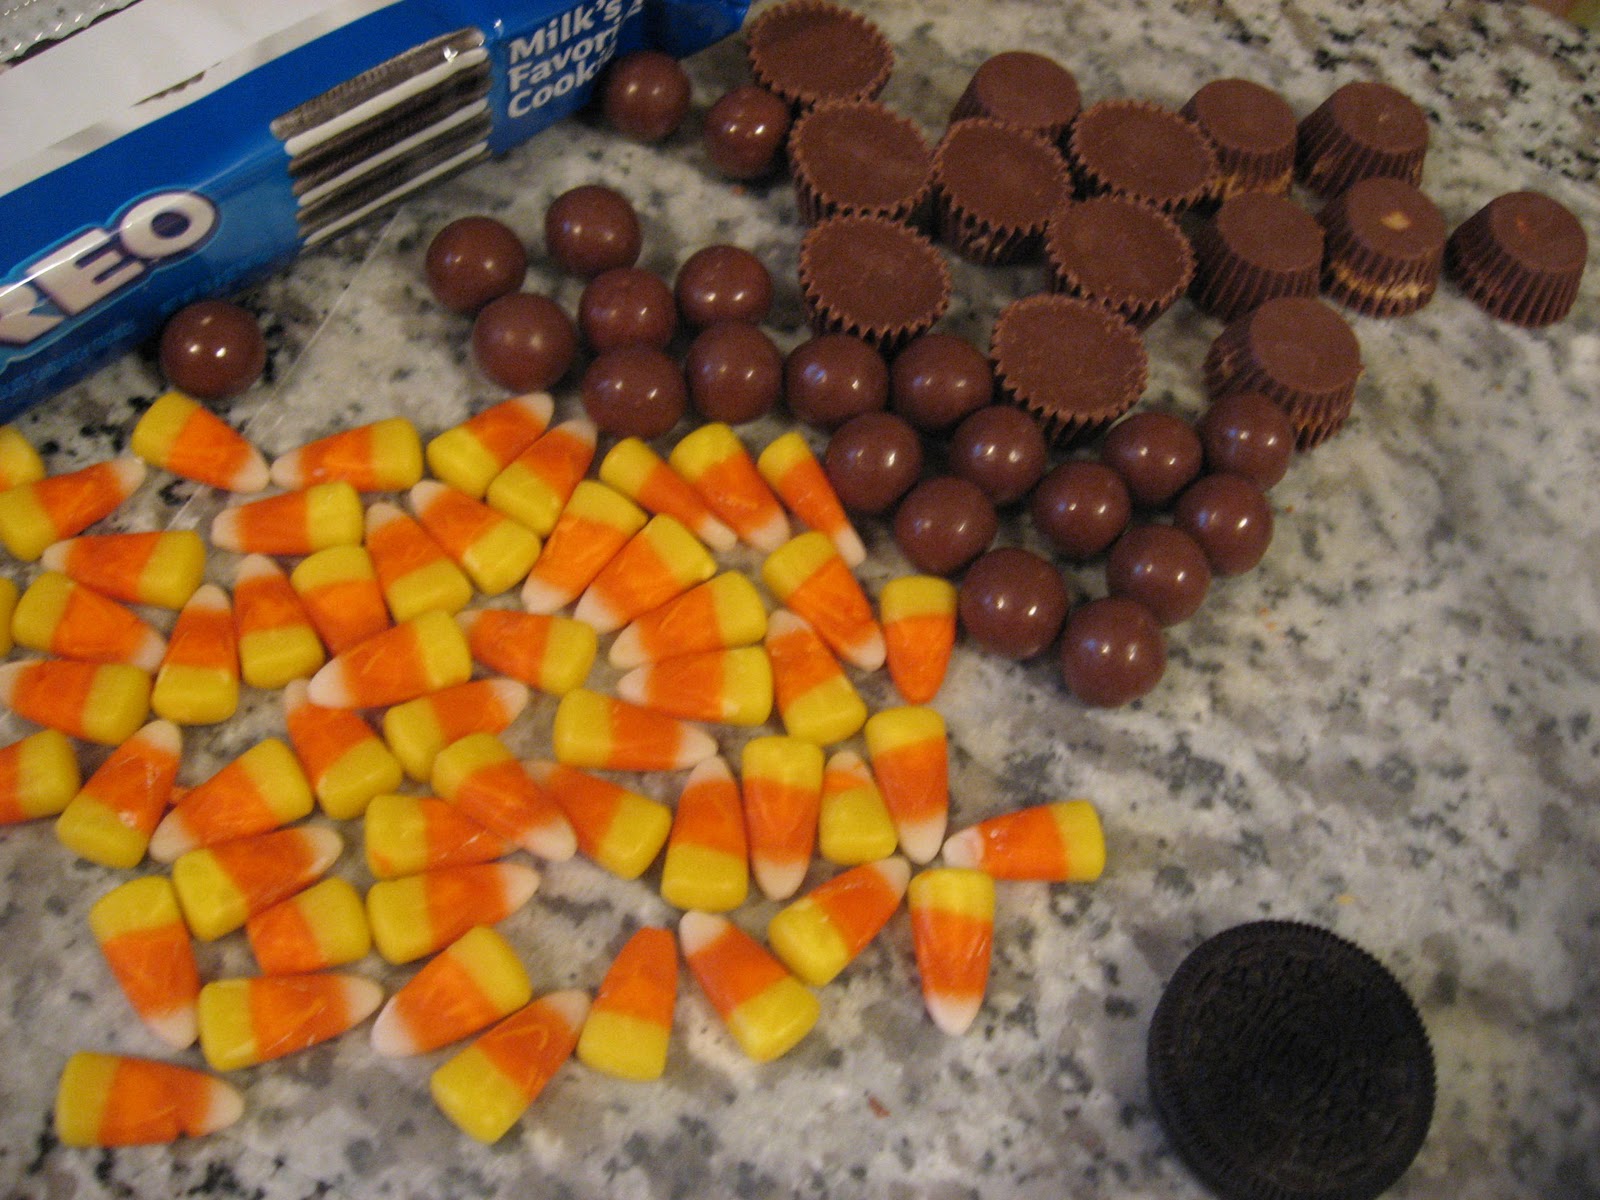
The key players...Oreos, Candy Corn, Whoppers, Mini Reeses Peanut Butter Cups and melted chocolate to act as "glue".

Be smarter than I was...unwrap and have all candy ready BEFORE melting your chocolate for assembly.

 I made a total of 14 Turkeys- which used 3/4 pkg of Oreos, and almost a full bag of candy corn!!


Use your melted chocolate "glue" to apply a peanut butter cup to the very edge on the front of each cookie- widest side down. Glue a Whopper to the top of that.


If you use Double Stuff Oreos, you can pipe frosting in between the cookies and stick the Candy Corn in. Again, I took the difficult way and used regular Oreos...so I pulled mine apart and piped more chocolate glue inside. Put in 5 pieces of Candy Corn as the Turkey's tail and re-attach the other cookie with more of the glue.


Using more of your chocolate "glue" make a small puddle of chocolate on another Oreo and stand your decorated Oreo on top of it. This is where it becomes very important that you put your peanut butter cup on the VERY edge of your Oreo. At this time, I added on two Candy Corn "wings" and another cut piece of Candy Corn as the "beak".

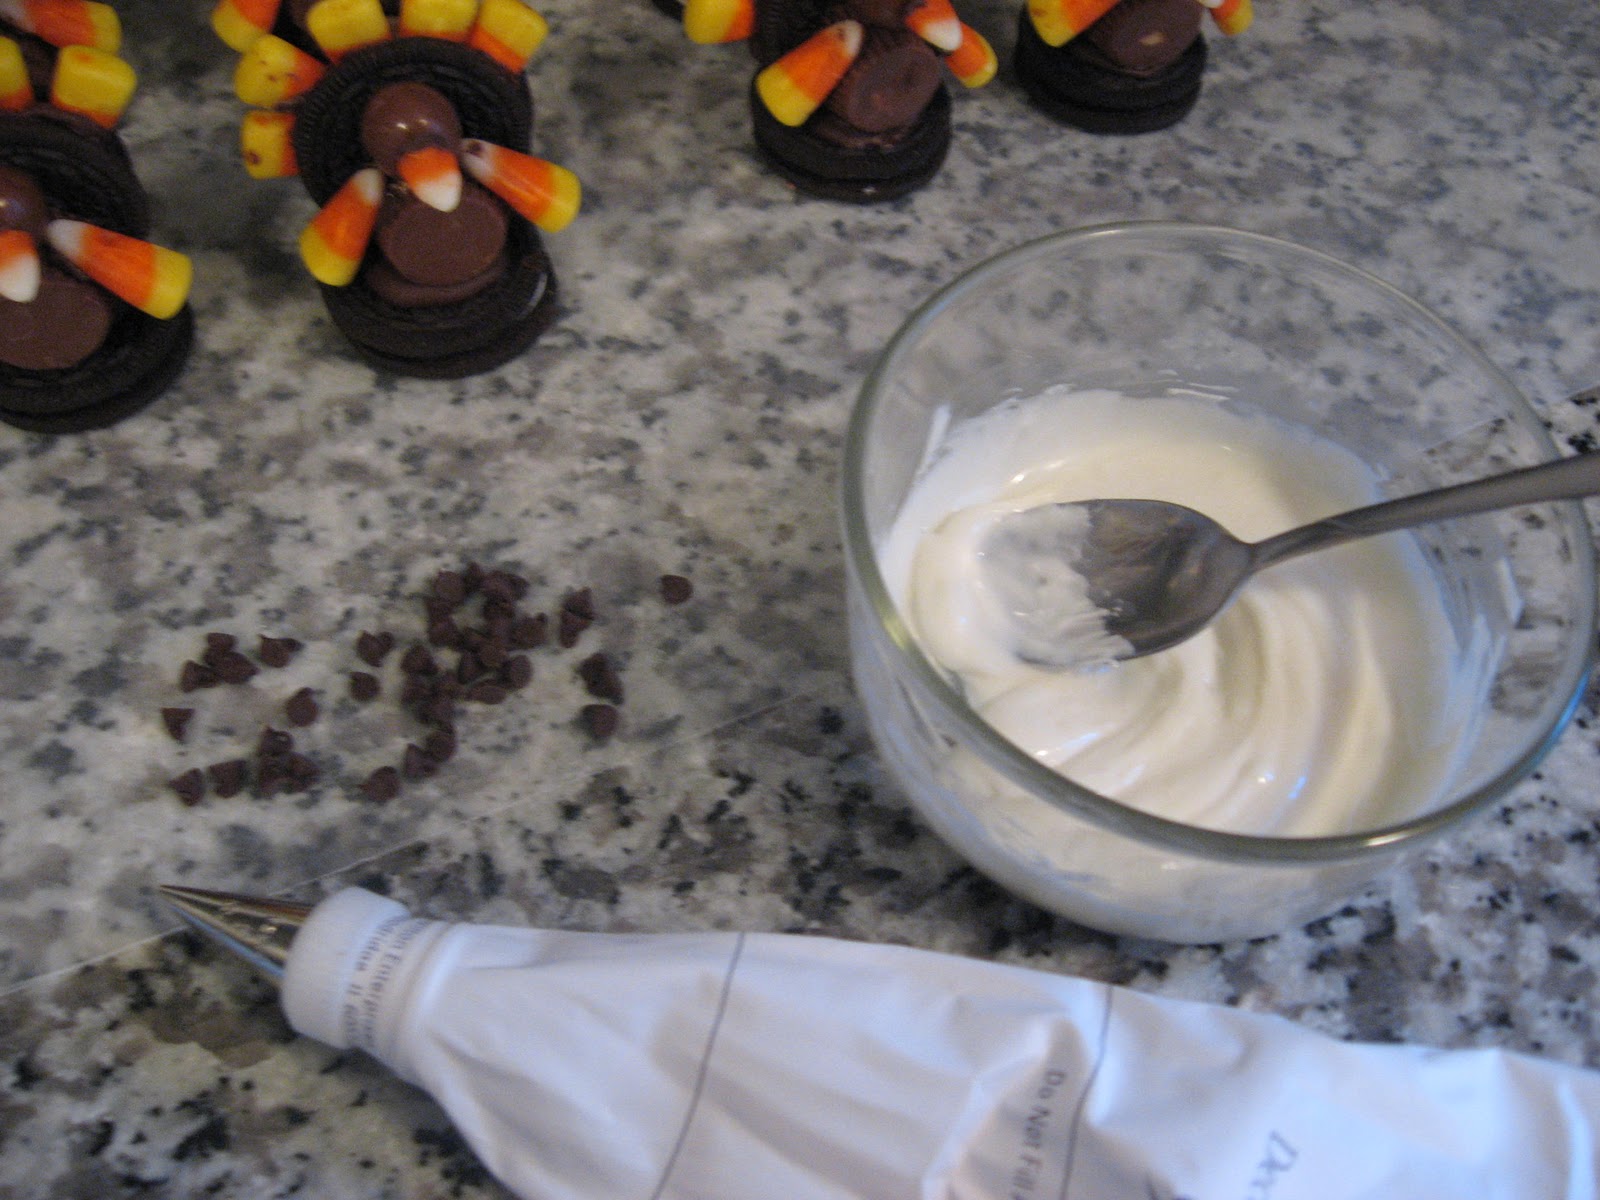
Finally, after spending so much time making these, I couldn't just put a dab of frosting on for the eyes. I was unable to find candy button eyes....so I used regular craft wiggly eyes :) Yes- please remove before eating! However, I did "glue" them on with melted white chocolate, so the rest of the turkey is still totally edible.

These are my finished Turkeys! Now bad for my first attempt...but I won't attempt another project like this again without having a tutorial to follow!! Lesson learned :)

Monday, November 15, 2010

I don't just love garlic bread, I adore it!

I love garlic bread, no matter how you serve it...and I love find new ways to serve it even more!! I read a few different recipes and decided to go with the parts I liked from each of them. Success!!


In a bowl, mix 1/2 stick of softened butter, 2 TBS of mayo (I use light), 1/4 fresh grated parmesan cheese, and 1/4 cup each of shredded mozzarella and cheddar. Add in a pinch of dried basil and  1/2 tsp of garlic powder. Mix until well blended.

Spread on a loaf of french bread, coating both sides evenly.

Bake at 400 degrees for 10-12 minutes...or until cheese starts to bubble.

Serve hot- oh so good....if only it were good for you!

Sunday, November 14, 2010

An experiment, because my Dad LOVES Sugar Cookies!

I saw a blog on Allrecipes the other day detailing Homemade Lofthouse Cookies. Lofthouse Cookies are the frosted sugar cookies with sprinkles you buy in the little plastic boxes at the grocery store, Target, Wal-Mart...etc. They are ridiculously soft and very tasty. I saw the recipe, and decided to give it a try.


The star ingredients! The recipe is on the bake of the Jiffy Baking Mix...and to get the authentic taste, don't make any substitutions. I don't normally cook with Crisco...but it was perfect in these cookies! The only place I have found the Baking Mix is at Wal-Mart...near the Bisquick. About $2 a box.

Using a hand mixture, blend the ingredients just until well incorporated. This makes more of a "batter" than a "dough". 


I used a large Star Tip and my pastry bag to pipe the batter onto my cookie sheet. I made these a second time as well just spooning the mixture on. Both ways worked great, but piping gives them a beautiful shape.

Top with your favorite Decorator or Buttercream frosting. Light, fluffy and crazy soft. I can see making these a little too often :)

Note: I got 18 normal sized cookies from this recipe...as written, if you made 36 cookies like the recipe calls for, they would be smaller than an Oreo.